Beginner bike trip through the Netherlands
If you’re considering getting into cycling holidays (and I highly recommend that you do!), there is no better place for it than the country known for its great cycling infrastructure. I’m therefore sharing the route for this beginner bike trip through the Netherlands. It’s a slightly adapted version of a trip I’ve done myself in the summer of 2020. There is hardly any elevation, you’ll never be far from cities or towns in case something happens, and you won’t have to cycle on major car roads. Sounds ideal, right?! The route outlined below takes you 6 days to complete, whilst you won’t be on your bike for more than 4 hours each day. Every day links out to a GPX file on Strava to help you navigate. If you would like to view the itinerary in a different format with built-in rest days, have a look at my trip on Pinerary.
Last updated: November 2026
Before you start
Okay, so you want to go on a beginner bike trip through the Netherlands, now what do you need? Of course, a bike! Because the Netherlands is very flat, you can ride this route on any type of bike. The distances are probably a bit far for a ‘city bike’ or mountainbike, as these are heavier and slower. Ideally, you’d use a touring bike, gravel bike or road bike (any type of e-bike will do, too). The route is almost exclusively on tarmac. The few trail bits through national parks where still fine on a road bike.
In terms of kit, a small backpack was enough for me, although riding with a backloader or panniers is a lot more comfortable. As my friend and I stayed in B&B’s, camping gear was left at home. In case you want to know more about what your first cycling holiday might look like, I suggest you read this other post as well.


Day 1 – 74 km/46 miles
Den Haag (or Rotterdam) > Utrecht
The first day of cycling will be one of the longest ones! Den Haag is a great place to spend a few days before you start cycling. After hopping on your bike, the first part of the route to Utrecht is not the most exciting. Until you reach Bodegraven, you’re cycling parallel to a motorway (A12). However, the cycle path here is great and goes to show why cycling in the Netherlands is so easy.
If you really want to avoid the motorway, you can follow the Eurovelo 2 route. But be aware that this requires a lot more navigation! The second part of this leg, between Bodegraven and Utrecht, is more rural anyway. Alternatively, you could start from Rotterdam, which is shorter by about 10 km/6 miles. Utrecht is a lovely city to stay for an extra night if you want to travel slower or get some rest after the first day.
To split this route into 2 shorter days, you could decide to stay overnight in Gouda. Otherwise, I still recommend a quick stop in this charming city for a lunch break.
Day 2 – 43 km/27 miles
The route to Ede is pretty straightforward. Dutch people might say you’ll come across a hilly area, but the total elevation level on this day is just a bit over 50 meters/170 feet. You also cycle through what is (by Dutch standards) a forest.
It’s quite an easy ride as you’re nearing the more beautiful and less populated side of the Netherlands. Ede, however, does not have much to offer, so I’d recommended spending the morning in Utrecht and arriving in Ede around dinner time. Seeing a less picturesque city does give you an insight into what living in the Netherlands is actually like beyond the tourist hotspots.
For accommodation in or near Ede, it’s worth cycling a few kilometres further to Bennekom. Through the website ‘Natuurhuisje’, you can find lots of beautiful places to stay.
Day 3 – 80 km/50 miles
Don’t be confused by the names! The route between Ede and Epe can be done in a fairly straight line, but it’s worth lengthening the ride to take a detour through the National Park ‘De Hoge Veluwe’ and avoid cycling along the edges of Apeldoorn. If you take my advice, you can admire the heath, and cycle amongst trees for a good part of the day. The town of Hoog Soeren is a popular lunch stop in summer, where you are likely to find lots of bike parking racks.
If the distance seems like to much, you can plan an overnight stop in Apeldoorn. Alternatively, you can cut the route short by cycling north rather than southeast along the boundary of the ‘Hoge Veluwe’. I would advise against this option, though, as it means skipping the most scenic part of today’s ride.
Day 4 – 59 km/37 miles
On day 4, you follow the IJssel river to Zwolle, and after that the Overijsselsche Vecht to Ommen. Zwolle is a nice city where you can have an extended lunch break. I really enjoyed cycling along the water most of this day. Especially with some tailwind, it’s an easy ride. Ommen, with over 50 campsites in the area, becomes quite the bustling town when the sun is out. On weekend days in summer, you might want to book a table in advance if you’d like to eat out.
There are a few museums in Ommen, as well as a nice river bank for a picnic. I enjoyed walking around the small centre. It’s a typical Dutch city! Spending more time in Zwolle is also worth it, so you could decide to leave early in the morning to spend half a day there before arriving in Ommen in the evening.
Day 5 – 56 km/35 miles
Similar to day 3, cycling in a straight line is not the way to go when heading up north to Wijster. You’ll want to stay on the left side of Hoogeveen and pass through the National Park ‘Dwingelderveld’. For those who are up for a challenge, try cycling up to the top of the ‘Col du Vam’. It’s a bit of a joke, but this is where Dutch cyclists go to practice their hill sprints.
As Wijster is a tiny village, there aren’t many options for accommodation. I was able to stay at a friend’s place. There are some also B&B’s, but chances are you will end up in another village nearby, such as Spier. In any case, the surroundings you’ll pass to get there are great.

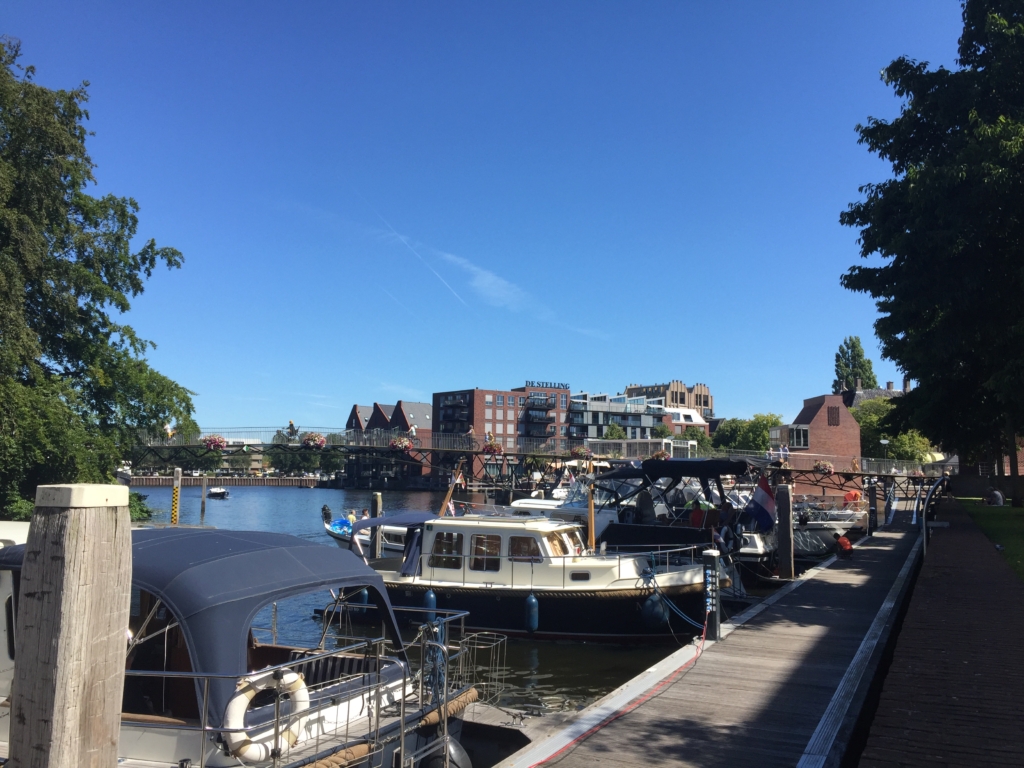

Day 6 – 57 km/35 miles
The last day is a good one! Keep an eye out for ‘Hunebedden’, which are neolithic burial mounds. ‘Hunebedden’ are made of large boulders left behind by retreating ice during the glacial period. They are quite rare, as they’re only found in this region of the Netherlands and parts of Germany. You can spot a few of them, especially if you look up the locations in advance and plan your route accordingly.
Cycling through the ‘Drentsche Aa’ is also a good idea. Again, there are some nice paths through heaths and groups of trees. And to end the day, you reach Groningen. It’s worth staying an extra night to explore the city. If not, you can take the train back to Den Haag (or Rotterdam) to end up at your starting point.
Conclusion
By going on this beginner bike trip through the Netherlands, you can get a good idea as to whether cycling holidays are up your alley or not. You will not have to spend an excessive amount of time on your bike, and you cycle through some of the most beautiful nature areas in the country. I hope this route sparks your enthusiasm, because I really enjoyed it! If you’re ready to start planning, have a look at this post about when is the best time to cycle in the Netherlands. And please do reach out if you want more info or have any questions.
2 Replies to “Beginner bike trip through the Netherlands”